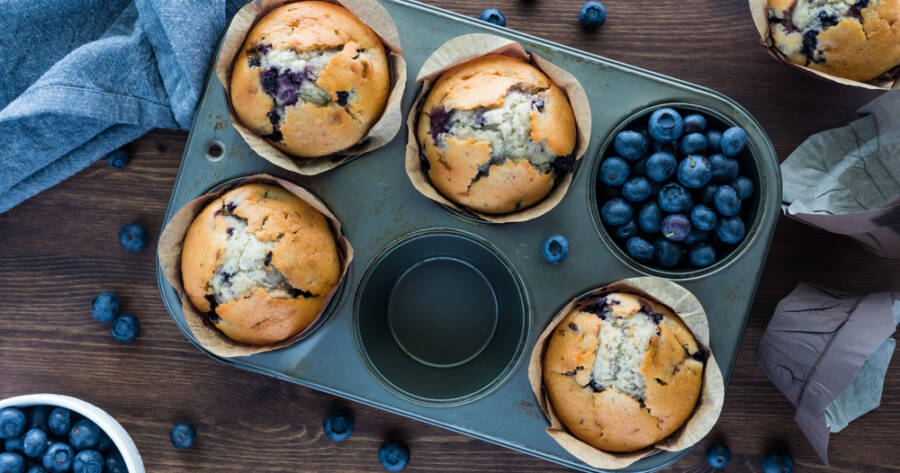
Baking without gluten may seem intimidating at first, but with the right tips and a little practice, gluten-free baking can be just as delicious, and even more rewarding than traditional methods. Whether you’re baking for yourself, a loved one with celiac disease, or simply exploring gluten-free options for wellness, understanding the basics can help you avoid common pitfalls and create treats everyone will love.
Understand What Gluten Does
Before diving into substitutions, it helps to understand what gluten does. Gluten is a protein found in wheat, barley, and rye that gives dough its structure and elasticity. It helps bread rise and gives baked goods a chewy texture. When you remove gluten, you need to find ways to replicate its structure, which usually involves combining multiple flours and binders.
Use a Blend of Gluten-Free Flours
Unlike wheat flour, no single gluten-free flour can replicate all the properties of gluten. That’s why most gluten-free recipes use a blend. Common gluten-free flours include:
- Brown rice flour – mild flavor, good for structure
- Almond flour – moist, slightly nutty, adds richness
- Sorghum flour – good for muffins and pancakes
- Tapioca and potato starches – add stretch and chewiness
- Coconut flour – very absorbent, often used in small amounts
You can either make your own flour mix or buy a pre-made all-purpose gluten-free blend. Look for ones that include xanthan gum or guar gum to help with binding and texture.
Don’t Skip the Binders
Because gluten acts as a binder, you’ll need something to replace it. This is where xanthan gum or guar gum come in. Most recipes require just a small amount—typically 1/2 to 1 teaspoon per cup of gluten-free flour. These gums improve elasticity and help hold baked goods together.
If you’re looking for natural alternatives, chia seeds or ground flaxseeds mixed with water can also act as binders, especially in muffins, cookies, and quick breads.
Measure Carefully (Preferably by Weight)
Gluten-free flours vary widely in density. One cup of almond flour weighs much less than one cup of brown rice flour, for example. Measuring by weight using a kitchen scale ensures accuracy and consistency. If you’re measuring by volume, be sure to spoon the flour into your measuring cup and level it off, rather than scooping directly from the bag.
Let the Batter Rest
Gluten-free batters benefit from a short rest (usually 20–30 minutes) before baking. This allows the flours to fully hydrate, improves texture, and helps prevent a gritty or chalky feel in the final product. Resting is especially helpful in recipes using rice flour or sorghum flour.
Add Moisture
Gluten-free baked goods can sometimes turn out dry or crumbly. To combat this, include moisture-boosting ingredients like:
- Applesauce or mashed banana
- Yogurt or sour cream
- Extra eggs or egg whites
- Nut butters or oils
These ingredients help maintain moisture and improve the mouthfeel of gluten-free treats.
Avoid Overmixing (But Don’t Underdo It Either)
With traditional baking, overmixing can lead to tough textures due to gluten development. In gluten-free baking, overmixing is less of an issue, but you still want to avoid overworking the batter. Mix just until ingredients are combined to keep the texture light and tender.
Start Simple
When you’re just starting out, stick to tried-and-true recipes like muffins, cookies, or quick breads. These recipes are more forgiving than yeast breads or pastries and give you a solid foundation before moving on to more advanced techniques.
Practice Makes Progress
Gluten-free baking has a learning curve, but don’t get discouraged if your first few tries don’t come out perfectly. Each attempt is a step toward mastering the craft. With patience, creativity, and a few smart techniques, you’ll be turning out delicious, gluten-free baked goods that no one will guess are missing a thing.

